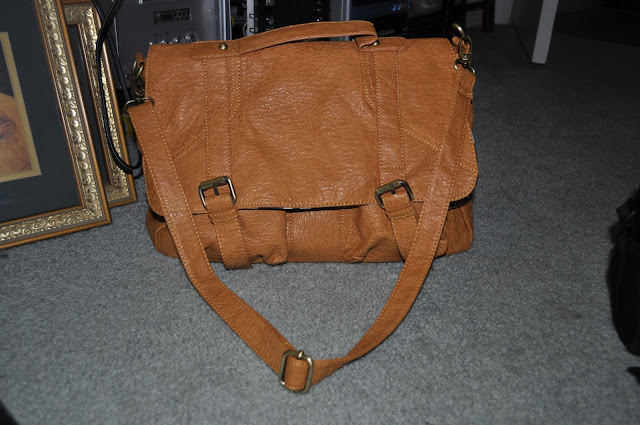
I used the Nikon camera bag that came with my camera as seen below
So I converted that bag into this one!
Step 1:
Empty out the entire bag
Step two:
Cut off the flap on top with the yellow trim
I cut as close as I possibly can (there are a few bits left but I'm not worried about it)
If you wanted to get closer you could use a actual razor blade
Cut off the strap (you can leave this on if you want to be able to remove your bag and carry it around set I however did not need to)
Step 4:
Remove clips from front of bag
I chose to take these off by just undoing the strap rather than cut it off in-case I needed to re-attach them for another reason.
Step 5:
Grab your bag (make sure the size is right)
and clean it out completely
Step 6:
Insert the black bag into your bag of choice
Step 7:
Insert spacers to best fit your items
Add all of your camera(s) and accessories!
I tried to label everything so you could see how much extra room I had and I still have plenty of room to add other things.
Hope you enjoyed this post!!
XOXO,


No comments:
Post a Comment